Showing posts with label owls. Show all posts

Monday Made It- Owl Pillows

On Pinterest, I saw some cutesy owl pillows. I almost bought some on Etsy, but thought to myself that I could try to make some. Something so simple has been a process for me... I am definitely not an expert, but a novice sewer. Good thing I have my seamstress friend Amy. :0) She has helped me with some tips that I would not have done. Later on this week, she will sew them up, and I will stuff them and hand stitch them. I think they will make a nice addition to my classroom library.


I am working on pillow #2. I have four that I plan to make. I think I will leave off the black and white bellies and maybe add some little feet instead.
 
I will also be decorating some sugar cookies for Meet the Teacher. If you are wondering what shape they will be... owls of course!
 
I'm linking up with Tara at 4th Grade Frolics for her Monday Made It Linky! I'm looking forward to what everyone else is making.


5

Monday Made It

I am slowly working on some projects for my classroom. My first project is READ blocks for my classroom library area. This was fairly easy, as I just traced the letters on some pretty scrapbook paper and decoupaged it on. I think I want to paint the back of the wood black and add some embellishment to the letters.
 
 
My second project is a new name tag for my classroom. We usually have a rectangular sign out on the window. Last year, I wanted to paint an owl sign, but I didn't get to it. This year, I decided to make a wreath. I used a cardboard wreath wrapped in black yarn and decorated it with some stuff I had.


I am linking up with Tara from 4th Grade Frolics for her Monday Made It. Now I am off to see what everyone is creating!
 
Click here to check out other Monday Made Its.


5

Monday Made It- Pennant Banner

I am loving how everyone seems to be making all these beautiful colorful pennants. I was wishing somebody would make some in colors that I needed to match my owl classroom. Then this weekend, I had a realization. I could do it myself! It is really quite easy if you already use powerpoint. So here goes my first tutorial...
 
You need to be in powerpoint. I made sure my page setup was portrait 8.5 X 11 inches. Then I chose a triangle from the drawing tool box. If you don't have that on your screen, go to the Insert tab and click on shapes. You'll see a variety of shapes. After getting my triangle on the page, I went to shape fill... see where the red arrow is pointing in the picture below... this where all the variations can take place...
 

When you click Shape Fill, a variety of choices pops up. You can pick different colors. I wanted to use some pretty patterned background pictures I had. So I picked picture and selected the file I wanted. Next, I went back to the Shape tools, and under the Shape Fill is the Shape Outline. I selected the color that I wanted. You can also choose Shape Effects to add shadows or a glow. I didn't do that to mine. Once you have the triangle done, you can overlay on top other shapes or clipart frames. I had fun playing around with a variety of options. I've created some new things for my classroom with the colors and owls of my choice! I haven't printed it out yet, but I am thinking of how it will all tie together in my new classroom! Below is a preview of what I am working on. Click on the picture to get the Welcome pennant for free.
 
 
Two of my bloggy friends are having giveaways. Wendy from Read With Me ABC is having a 100 Follower Giveaway and Amanda from Mrs. Pauley's Kindergarten is having a 400 Follower Giveaway. Congratulations to both ladies on their wonderful blogs! Click below to check them out.


 I am linking up with Tara for her Monday Made It.


7

First Week Back!

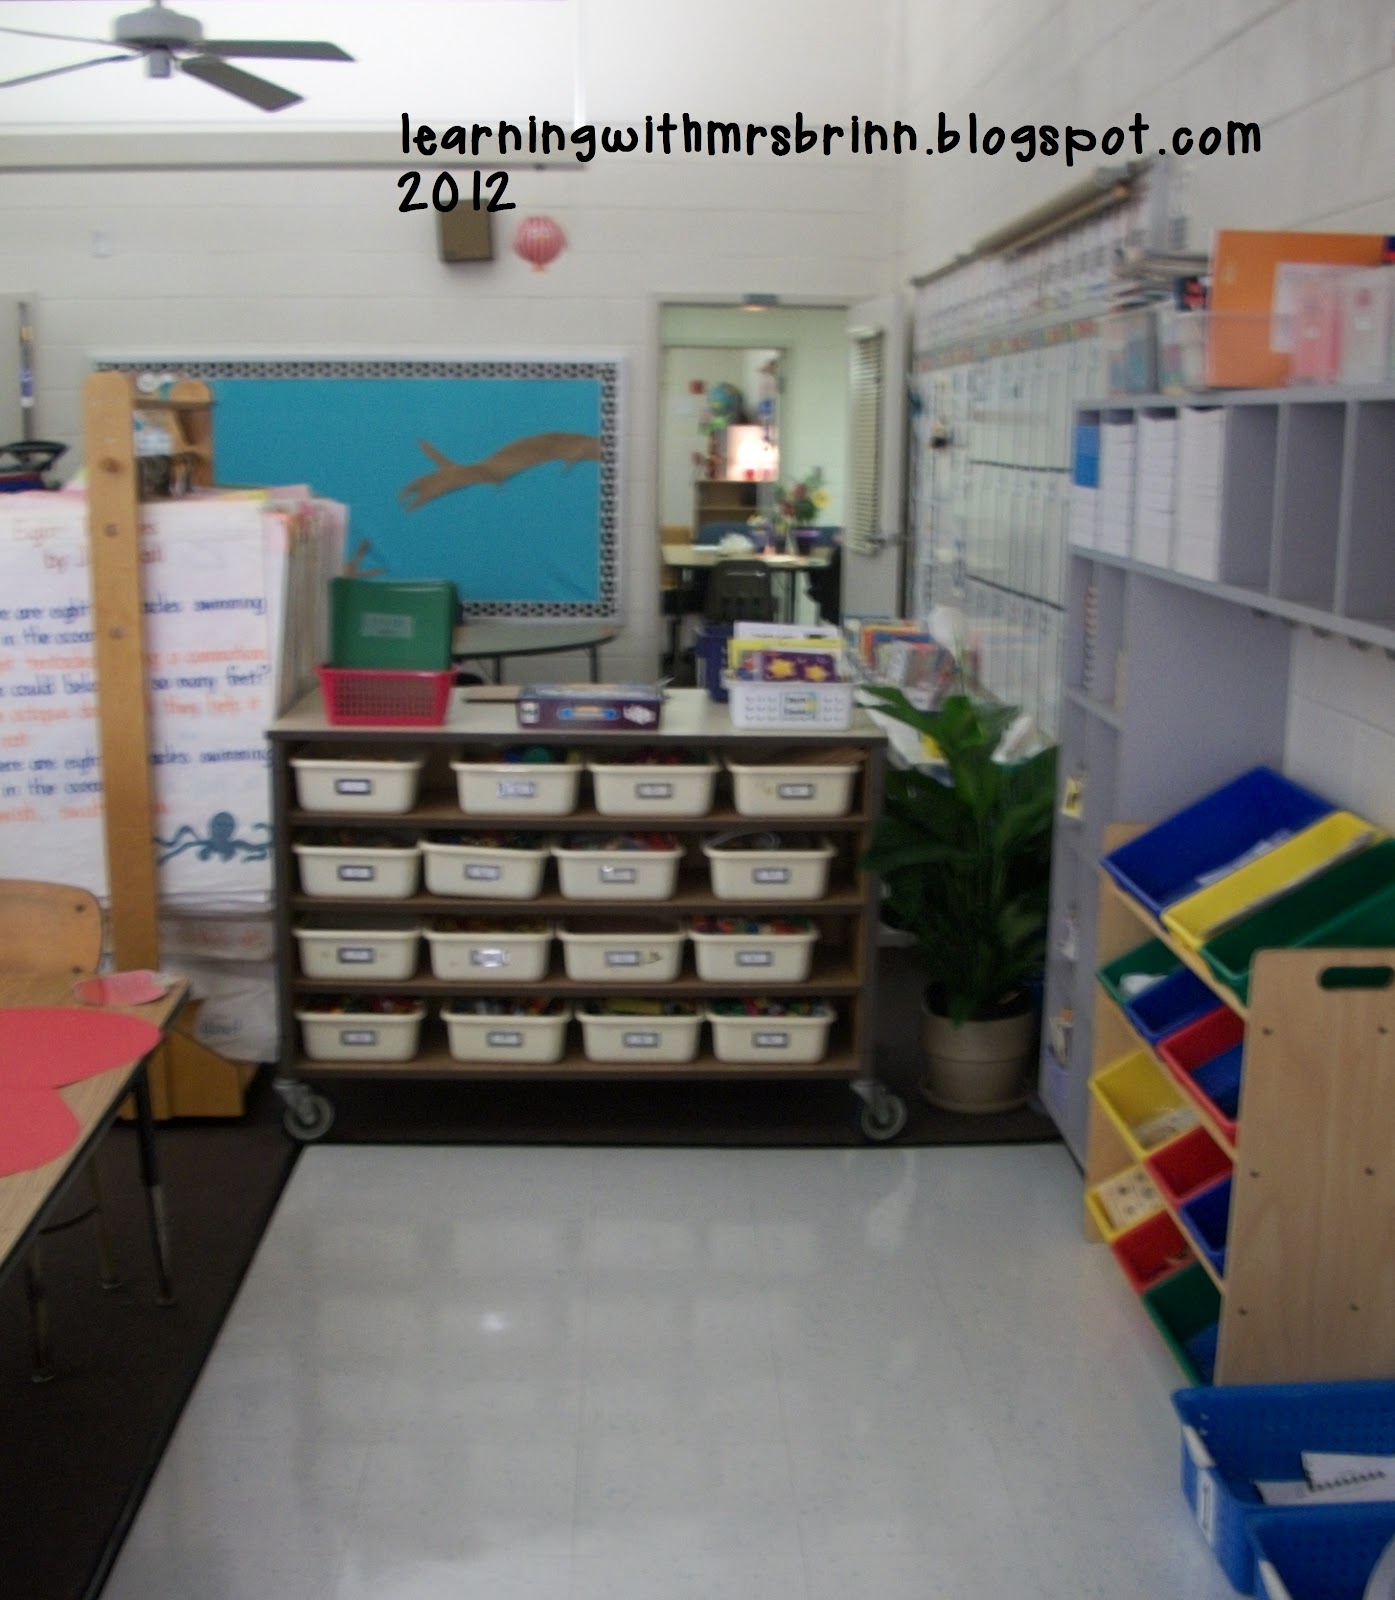
First week back to work and I forget how tiresome it can be to be on my feet all day! I had fun putting my classroom back together, especially with all the stuff I have had found over the summer. Here is the view from when one walks straight in the door. On the right side are the children's cubbies and also where I store some chapter books (Junie B., Cam Jansen, A to Z Mysteries, Mystery Tree House, etc.). The colorful bins and the 16 buckets on the cart are math bins with manipulatives and games.


This is the view from the door looking at the main area of the room. The screen is pulled down for Kindergarten Information Night. I want to rearrange the area to better allow me to use the overhead projector/Elmo on a daily basis. Last year, we had to rotate the cart. This year I get to keep it in my room!!


Here is a close up of one of the tables for Kindergarten Information Night. I have a name tag holder, folder of information, and a gingerbread man homework at each place. At our school, we tag our kindergarteners for the first weeks of school. This helps us make sure we get our children home the correct way. The items in the folder are packed full of information and forms for my families. Some samples can be found in my START SCHOOL USING BRAIN-BASED RESEARCH packet on TPT. The first homework we send home for kindergarten is a gingerbread man for students to decorate and share during the second week of school.

 Here is left side of my classroom. The little table with two chairs is one of the listening centers using a CD player. After that is the abc center and further down is the computer area (not shown in this picture).

This is at the front of the room by the computer center. I posted up a letter to my new kindergarten class from last year's class. I used the beginning of the year self portraits to put around the letter, as well as a end of the year class picture.


 This is a picture of the back of the room by the cubbies on the right. This side of the cart has 4 buckets of literacy games and 12 leveled buckets for independent reading.

Here is a close up view of the back white board. I found lots of freebies for this! I moved my word wall from the front board to this back board. Click on the titles below to visit the sites to get the freebies!
1. How We Go Home Chart
2. CAFE signs
3. 1-20 Number Chart
4. Reading Strategy Buddies
5. IPICK
6. Building Stamina Timer
7. My Word Wall Title and Letters


Here are the apple cookies that I like to pass out to my families for Kindergarten Information Night. I left them in the fridge... so I gave them out at Meet the Teacher this year. I attached a poem with them. It is one that has been around for a while. I also included the poem in my Start School Using Brain-Based Research packet.


After Kindergarten Information Night, the following morning is Meet the Teacher. Here is part of my setup. I put out my owl treat bags, a letter from one of my previous students, and a checklist to do the different tasks around the room.


When the families first come in, they sign in. I made apple signs for my parents and owl signs for my students. (Also included in my Brain packet.) After signing in, each student finds their nametag and places it where he/she would like to sit on the first day of school. Each student also picks a cubby hole to keep their belongings during the school day.


Another task for my kindergartners is to sign this chart about their first day feelings. 17/18 students signed that they were excited! One little girl was nervous. I am also excited!! I have two families that I have worked with in previous years. That always helps to calm my nerves. My little ones were adorable and full of smiles. I think it will be another great year!


One of the other tasks is that each student had to make an owl. Usually, I do a coconut tree and have them draw a face to put on the coconut. This year I decided to get more into an owl theme. Sorry for the blurry picture.

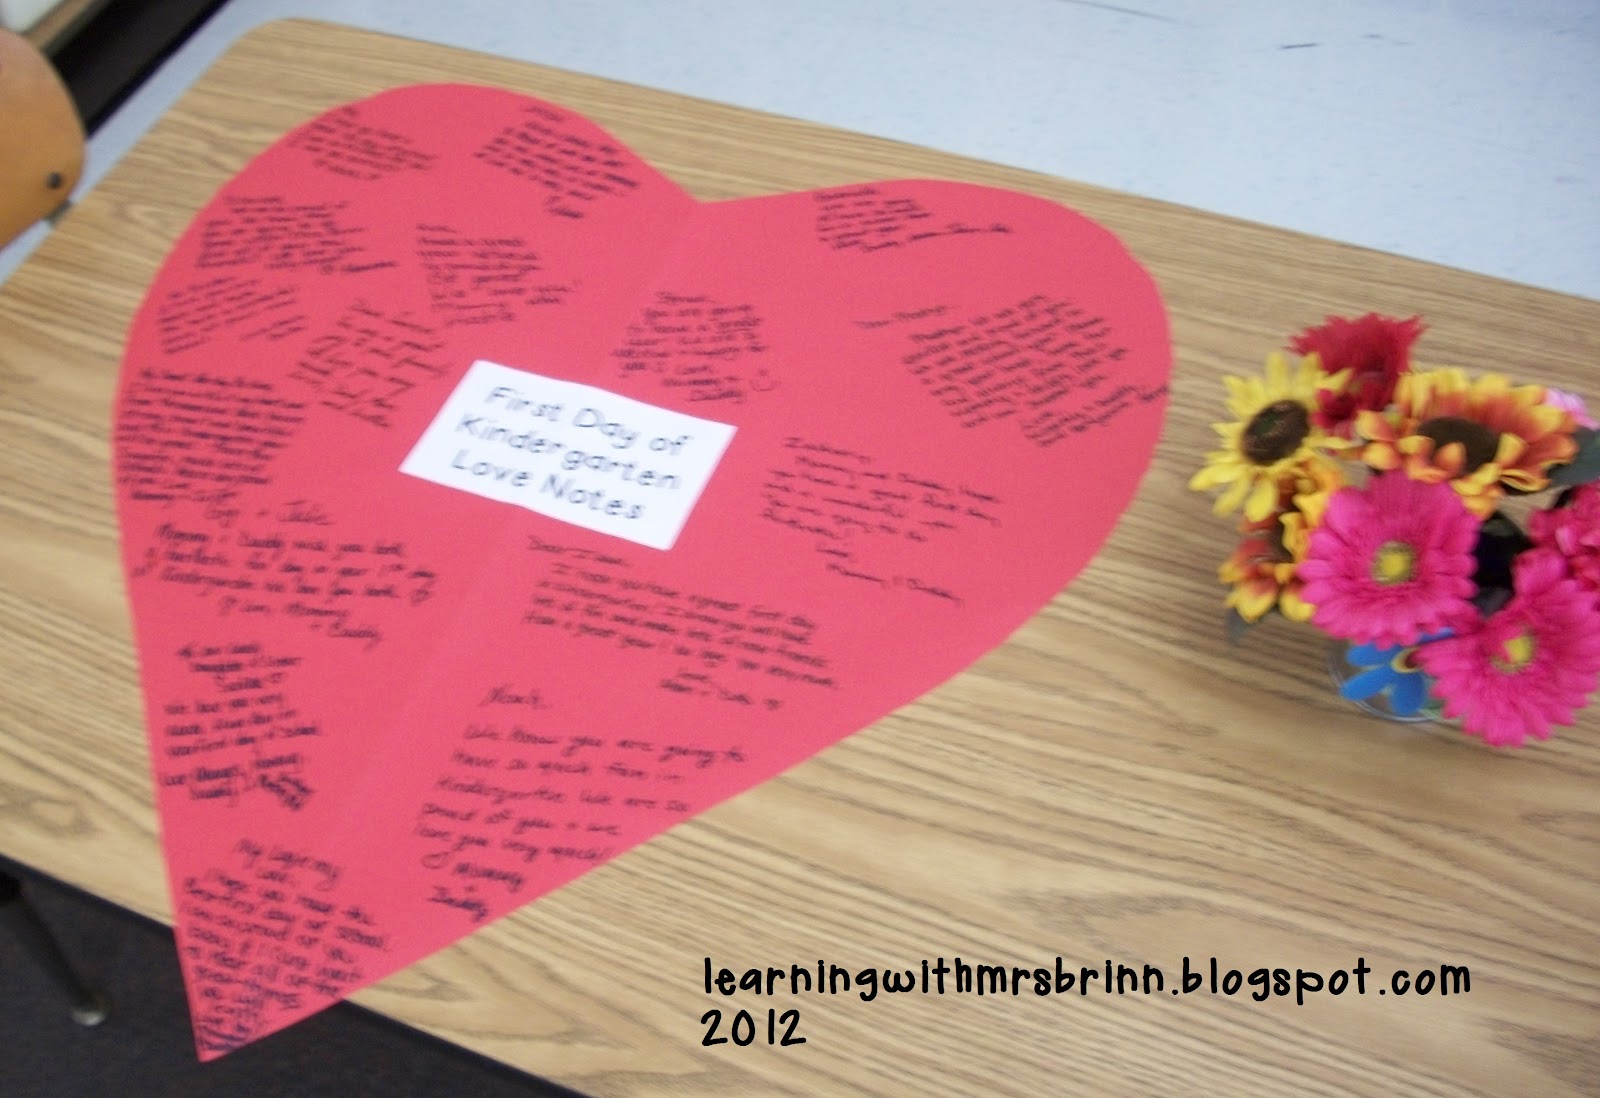
Here is a heart showing my parents love notes to their children on their first day of kindergarten.


For my previous students who stop by, I had owl cookies for them as a treat. 


Now I have to get ready for the first week of school! There is a sale tomorrow and Monday at TPT!! I have quite a few things on my wish list... more like 130 something! I just need to choose which do I need for the first weeks of school! My small store will also join in on the sale. Just click on the picture below to go to my TPT store. Click here to see who else is having a sale.


0

Monday Made It: Owl Lanterns


I have bought some lanterns from Target at the beginning of summer with intentions to make some owl lanterns I saw on pinterest. Now at the end of my summer, I am getting to it. In less than a hour, I made 4 owl lanterns. I plan to hang them around the room for 4 different areas. They will be hanging up in my classroom next week... when I go back for teacher planning. Summer has passed by quickly!!


Supplies: assorted lanterns, scrapbook paper, circle punch, black buttons, scissors, Stampin Up Crystal Effects, & Glue dots


25

Monday Made It


Last week, I started making some owl treat bags for Meet the Teacher- which will be here in less than 3 weeks! I finished them today by gluing on the words "Kindergarten is a hoot!" I was inspired by this Pinterest picture:


Below are my little owl bags. They were easier to make than my Christmas Owls. I wanted to buy some new scrapbooking paper, but I used what I had! I still have one little item inside before I staple them shut. Click on my owl bags picture to get the wording: Kindergarten is a hoot! (I also made for PreK, 1, & 2.)


16
Back to Top